How to Apply Thermal Paste to a CPU
In this complete guide to thermal paste, we'll give you all the tips you need to choose a high-performance thermal compound and apply it correctly.How-To

Ultimately, most of the PC building process is nothing too mysterious. Snap that into place there, screw this in here, and congratulations, you've built a PC! However, there's one notable exception: its squishy nature can make it a little intimidating even to those who've built PCs before. We're talking, of course, about applying thermal paste to CPUs.
This thick paste plays a crucial role in managing heat from your PC's processor. However, when it comes to the specifics of how to apply thermal paste to a CPU, the internet is full of conflicting advice. Our best guidance? Relax, because it's actually not that hard! In this complete guide to thermal paste, we'll give you all the tips you need to choose a high-performance thermal compound and apply it correctly.
Want to get straight to the instructions? Skip down here.
What Is Thermal Paste?
Thermal paste (sometimes called thermal grease or thermal compound) is a thick, gel-like substance that conducts heat between your CPU and its cooler. Most thermal paste comes in syringe-style tubes, which allow PC builders to apply it to their CPU's heat spreader.

To better understand what thermal paste does and why it's important, here's a basic rundown of how a computer's cooling system works:
- The CPU radiates heat through its integrated heat spreader (IHS), the metal surface that forms the top of the CPU assembly.
- The cooler absorbs heat through its copper or aluminum base plate (also known as the cold plate), which sits directly on top of the IHS.
- Often, heat won't transfer efficiently enough between the CPU and the cooler because of the tiny air gaps between the IHS and cold plate. Since the air in these gaps doesn't conduct heat well, the heat can build up near the CPU and raise your computer's temperature.
- Thermal paste fills in these gaps with heat-conductive material, allowing heat to flow efficiently between the CPU and cooler.
Without properly applied thermal paste, your computer will struggle to regulate its internal hardware temperatures, especially during demanding gaming or video editing tasks. That's why thermal paste is essential to your PC build!
When Do You Need to Apply Thermal Paste?
If you've bought a new computer, such as a laptop or a prebuilt gaming PC, there's usually no need to apply or reapply thermal paste. Your computer's CPU will come with a cooler already attached and with thermal paste in place. Many aftermarket coolers today also come with thermal paste pre-applied on the cold plate.
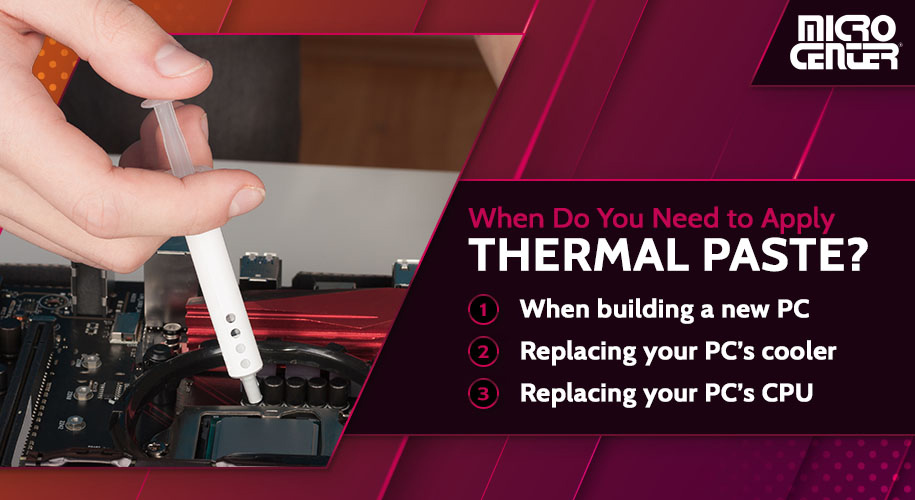
On the other hand, a new application of thermal paste might be required when you're:
- Building a new PC
- Replacing your PC's cooler
- Replacing your PC's CPU
Basically, any time you remove the cooler or CPU from your PC, you'll probably need to apply thermal paste and/or remove the old paste. In addition, if your PC has started to run abnormally hot and it's been a few years since you applied thermal compound, putting on a new coat may help you lower your temperatures (since even the best paste does eventually lose some thermal conductivity). High-end paste lasts 5–7 years under normal use, and even entry-level pastes reliably last 3–5 years. Ensure you've ruled out other causes (like dust) before doing it.
What Kind of Thermal Paste Should I Use?
With so many different types and brands of thermal paste out there, is there a single best choice for PC builders? Many Reddit threads and YouTube videos are devoted to this subject. Still, most of them come to about the same conclusion: While the top thermal paste brands may differ slightly in this aspect or that one, any reputable brand will work well for the majority of PC builds.
| Type | Pros | Cons |
|---|---|---|
| Non-Conductive Paste (ceramic, silicone) | Safe for beginners, inexpensive, effective for most PCs | Slightly lower thermal performance vs. metal-based pastes |
| Conductive Paste (silver, carbon-based) | Higher heat transfer, good for gaming/enthusiast builds | Risk of shorting components if spilled; requires careful application |
| Liquid Metal TIM (gallium-based) | Maximum conductivity, best for overclocking and high-end CPUs | Electrically conductive, can corrode aluminum, tricky to apply — for advanced users only |
| Thermal Pads (carbon fiber, silicone sheets) | Easy install, no mess, reusable in some cases | Lower performance than paste/liquid metal, less ideal for heavy loads |
Browse Our Thermal Paste Options Here
Do take note of what's in your thermal paste before you buy it. Some high-performance thermal pastes contain electrically conductive metals like silver, meaning they can potentially short out other components if they spill onto your motherboard. If you don't want to worry about that, choose a non-conductive paste made from materials like ceramic and silicone compounds, which are more than good enough for the average PC builder.
Enthusiast builders increasingly use liquid metal TIMs (thermal interface materials) for maximum thermal conductivity. These compounds, often gallium-based, provide extreme performance but are electrically conductive and can corrode aluminum. For that reason, they’re best reserved for experienced builders who understand the risks and take proper precautions.
Thermal pads are another option that some builders use. These thin carbon fiber pads sit directly between the IHS and cooler plate, just like thermal paste does, and they perform the same function. Some people like them because they're easy to install and less potentially messy than thermal paste. They're common in office PCs and other computers that aren't expected to accommodate extreme CPU loads.
How to Apply Thermal Paste to Your CPU
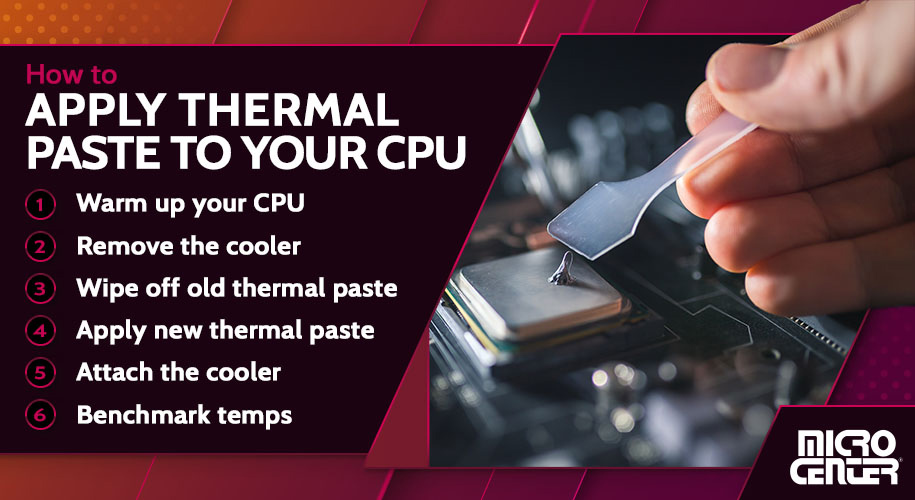
1. Power down and prepare for removal (warming optional).
Shut down your PC, unplug it, and open the case. Most builders in 2025 remove the cooler directly; if the paste feels stubborn, apply a little isopropyl alcohol around the edge of the cold plate to help loosen it. (Optional) You can “warm” the system first with a short CPU load to soften old paste, but it’s not required.
2. Remove the cooler.
Remove the screws and/or bracket per your cooler’s manual. Gently twist the cooler slightly clockwise/counterclockwise to break the seal, then lift straight up. Avoid yanking or pulling on an angle.
3. Wipe away the old thermal paste.
First, dry-wipe to reduce mess. Then use a lint-free cloth (or coffee filter) with isopropyl alcohol to clean the CPU IHS and the cooler’s cold plate. Finish with a dry wipe so both surfaces are clean and dry.
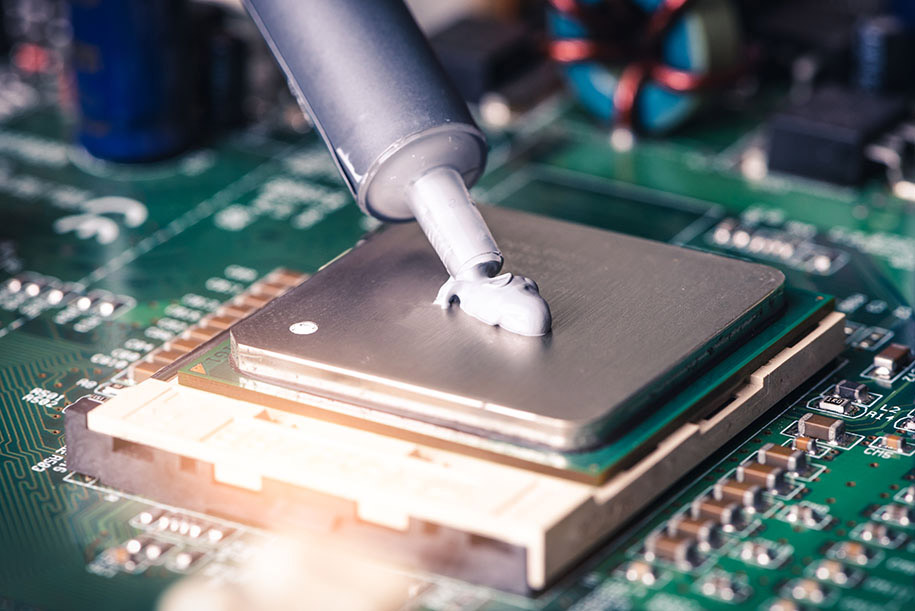
4. Apply thermal paste to the heat spreader.
For most CPUs, a pea-sized dot in the center is the easiest, most reliable method. For larger IHS (like Intel 14th Gen i9 or some AM5 chips), a small line or X may provide more consistent edge-to-edge coverage. Let the cooler’s mounting pressure spread the paste.
5. Attach the cooler to the CPU.
Pre-fit any brackets and know which mounting holes you’ll use. Lower the cooler straight down (don’t tilt in from the side), then tighten per the recommended pattern. Reconnect fans/pumps as required.
6. Benchmark your CPU temperatures.
Use temperature monitoring and benchmarking software to verify thermals. As a rule of thumb:
- Idle: ~30–50 °C (86–122 °F)
- Gaming/Typical Load: ~60–85 °C (140–185 °F)
- Heavy/Stress/AVX: spikes up to ~95 °C can be normal if the CPU is not throttling
Find the Perfect CPU for Your PC Build
Three Mistakes to Avoid
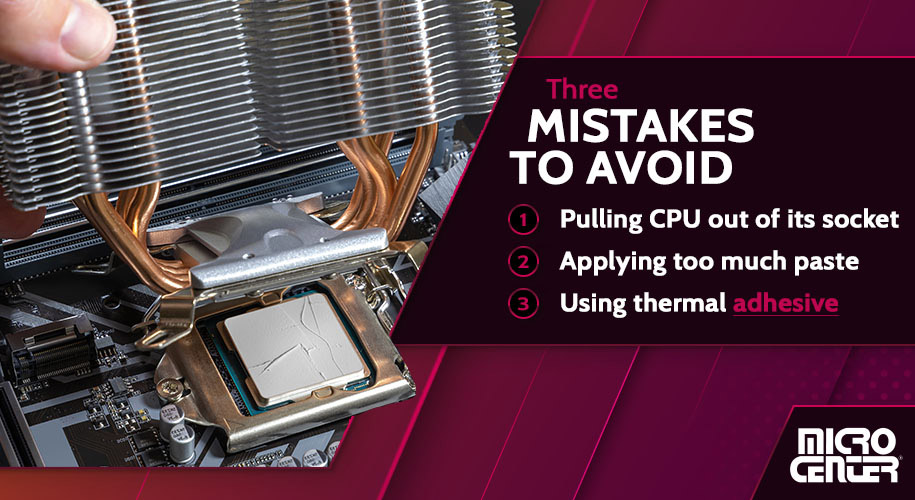
1. Accidentally pulling the CPU out of its socket.
Twisting to break the paste seal reduces the chance of lifting the CPU. Be patient and avoid pulling straight up with force.
2. Applying too much paste.
A little goes a long way. Excess paste mostly looks messy—except with conductive pastes, where spillover can short components.
3. Using thermal adhesive instead of thermal paste.
Thermal adhesive bonds surfaces (and can make removal difficult). Double-check the product label before buying or applying.
Thermal Paste FAQs
How often should I replace thermal paste?
For most builds, every 3–5 years is fine; high-end pastes can last 5–7 years. Re-apply sooner if you remove the cooler or notice unusual temperatures or throttling.
Is pre-applied thermal paste good enough?
Yes, for the average user. Aftermarket paste can improve results a few degrees, especially on higher-TDP CPUs or compact cases.
Is liquid metal better than standard paste?
It offers the best thermal performance but is electrically conductive and can corrode aluminum. Recommended only for experienced users with compatible hardware.
Which application pattern is best?
Pea-sized dot works for most. Use a small line or X for larger IHS (e.g., Intel 14th Gen i9, some AM5) to improve edge coverage.
Do I need to warm the CPU before removing the cooler?
Not usually. Power down, unplug, and remove the cooler. If the paste is stubborn, apply isopropyl alcohol around the cold plate to loosen it.
From a tube of thermal paste to a CPU-motherboard combo, Micro Center has every part you need to create your dream PC. Or get your custom PC built professionally by our PC experts!